Science projects for kids: the incredible universe takes you to worlds just waiting to be discovered. With simple instructions and everyday materials, you'll be learning more about constellations with the kids.
You can start with star gazing and watching shooting stars -- and then make a planetarium or star theater to bring what you've learned back home. Learn more about the planets and star brightness, and make an astrolabe. And those are just some of the science projects you can try!
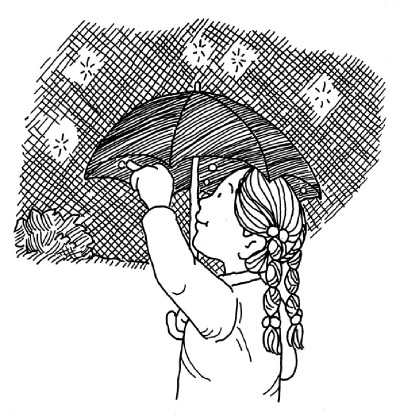 ©2007 Publications International, Ltd. Make a private planetarium from an umbrella. |
Follow the links below to find science projects for kids: the incredible universe that you can do with kids:
Make a Planetarium
Use planetarium to show constellations on a wall in your house.
Star Gazing
Start by finding the North Star, and then see more.
Umbrella Full of Stars
Turn your umbrella into a star-studded private planetarium.
Star Theater
Make constellation punch-outs and then a star theater.
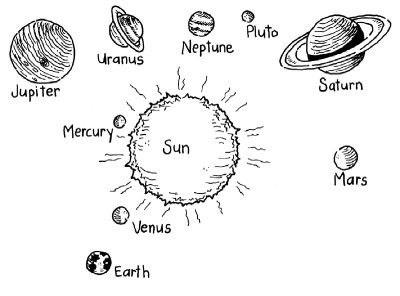
Scale Down the Solar System
Use peas, fruit, and nuts in a true scale model of the solar system.
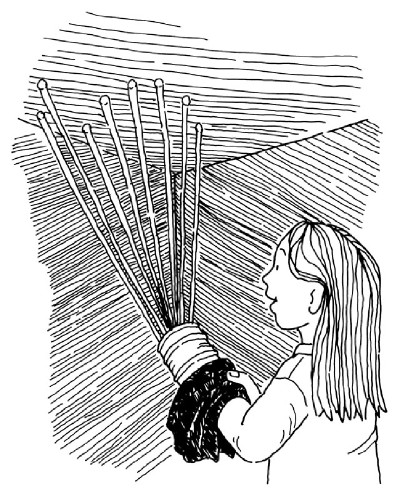
Make an Astrolabe
Track the position of the stars with a simple instrument you make.
Shooting Stars
Find the right night, and get ready for the fun of a meteor shower.
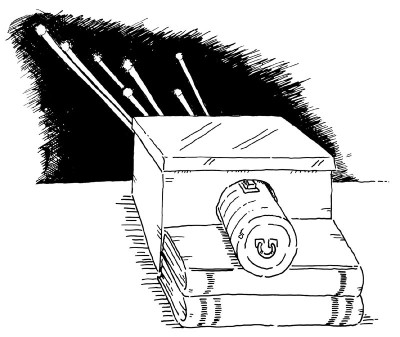
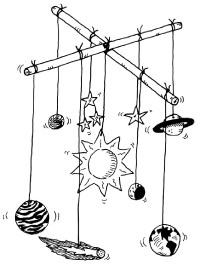
Space Explorer Mobile
Explore the details of space with a mobile you make and hang.
Planetary Walk
Get a better sense of the solar system by taking a planetary walk.
Starry Night Observer
Take a closer look at the night sky, and write down what you see.
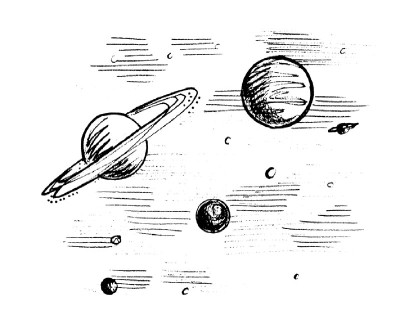
Spot the Planets
Learn to find Venus, Jupiter and other wandering stars.
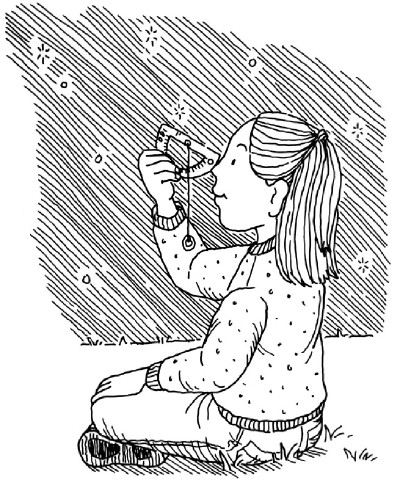
Star Brightness Detector
Use this cellophane detector to categorize the brightness of stars.
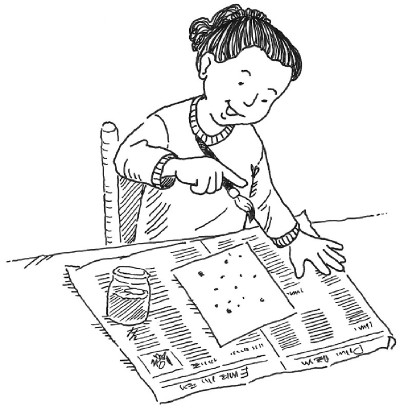
Paint Speck Constellations
Turn specks of paint into your own set of constellations.
Go to the next page of science projects for kids: the incredible universe to find out how you can make a planetarium for star shows in your house.
For more fun science projects for kids, check out:
- Science Projects for Kids: States of Matter
- Science Projects for Kids: The Moon
- Science Projects for Kids: Laws of Gravity and Motion
Advertisement