Brighten up any space with personalized custom wall art. Create a one-of-a-kind gift for a new baby or housewarming, or change the look of any room in your home with this inexpensive and easy project that can be completed in an afternoon.
Supplies Used:
Advertisement
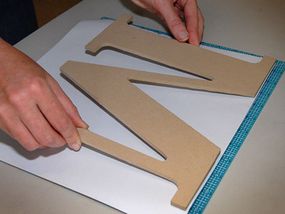
- Wooden letters (available at any mass craft store)
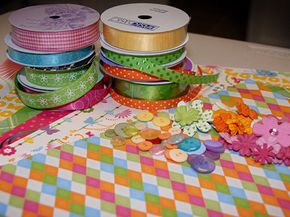
- Coordinating 12x12 patterned paper - one sheet per letter
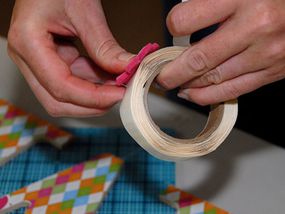
- Xyron Creatopia with permanent adhesive refill
- Craft mat
- Craft knife/Exacto knife
- Sandpaper
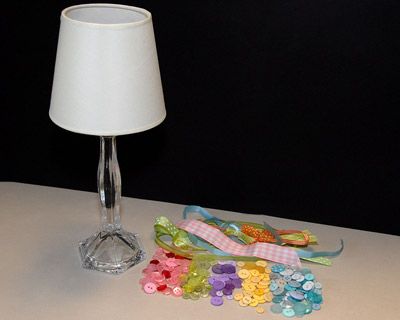
- Assorted coordinating embellishments
- Coordinating ribbon
- Mini Glue Dots
- Craft Glue Dots
- Scissors
Gather all of your supplies/embellishments together and lay out your letters to determine which patterned paper you will use with each letter.
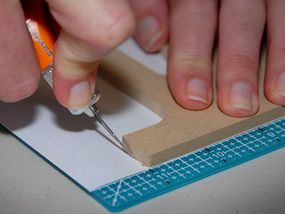
To begin decorating letters, lay patterned paper face down on a craft mat. Apply adhesive to the front of the wooden letter and lay adhesive side down on top of the patterned paper. TIP: because most letters have a flat edge, line up one flat edge of the letter with one edge of the paper for an easier, straighter cut.
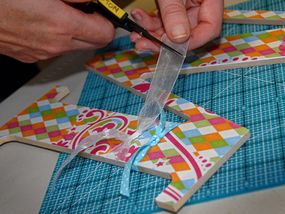
Using the craft knife, cut around the edges of the wooden letter until you have cut completely around it.
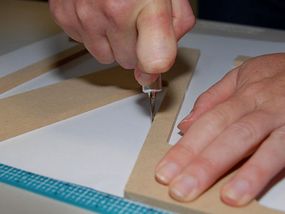
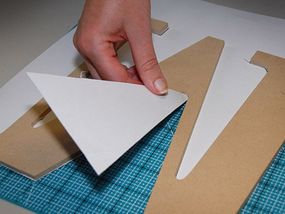
Pull the scraps of paper away from the letter. If some areas did not cut completely or have a rough edge, use a small piece of sandpaper to smooth.
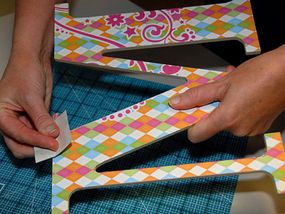
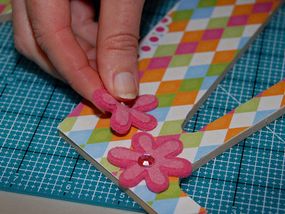
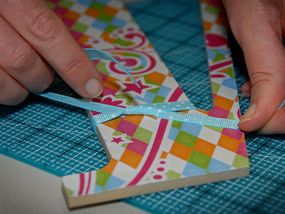
Lay wooden letter patterned paper side up and embellish with assorted buttons, flowers, ribbons, or any craft items you have available. TIP: If you prefer, apply patterned paper to all of your letters first, then lay them out and embellish the entire set at one time.
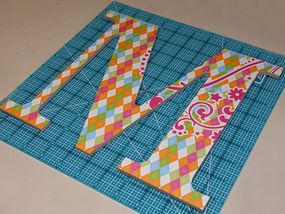
The completed letters can be displayed in a variety of ways. Apply small hangers to the back of each letter, loop ribbon and apply to the back of each letter with a staple gun for hanging, or display them on a shelf or tabletop.
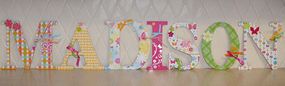
The possibilities are endless with this project. Choosing your own patterned paper and embellishments allows you to create wall art that will coordinate with any theme or color scheme in your home. Happy crafting!
Advertisement